
Used Mechanics Truck Buying Guide: 12 Checks Before You Buy
Use this 12-step inspection plan to verify a used mechanics truck’s labels, weight, hours, frame, PTO, hydraulics, crane, records, and emissions status.
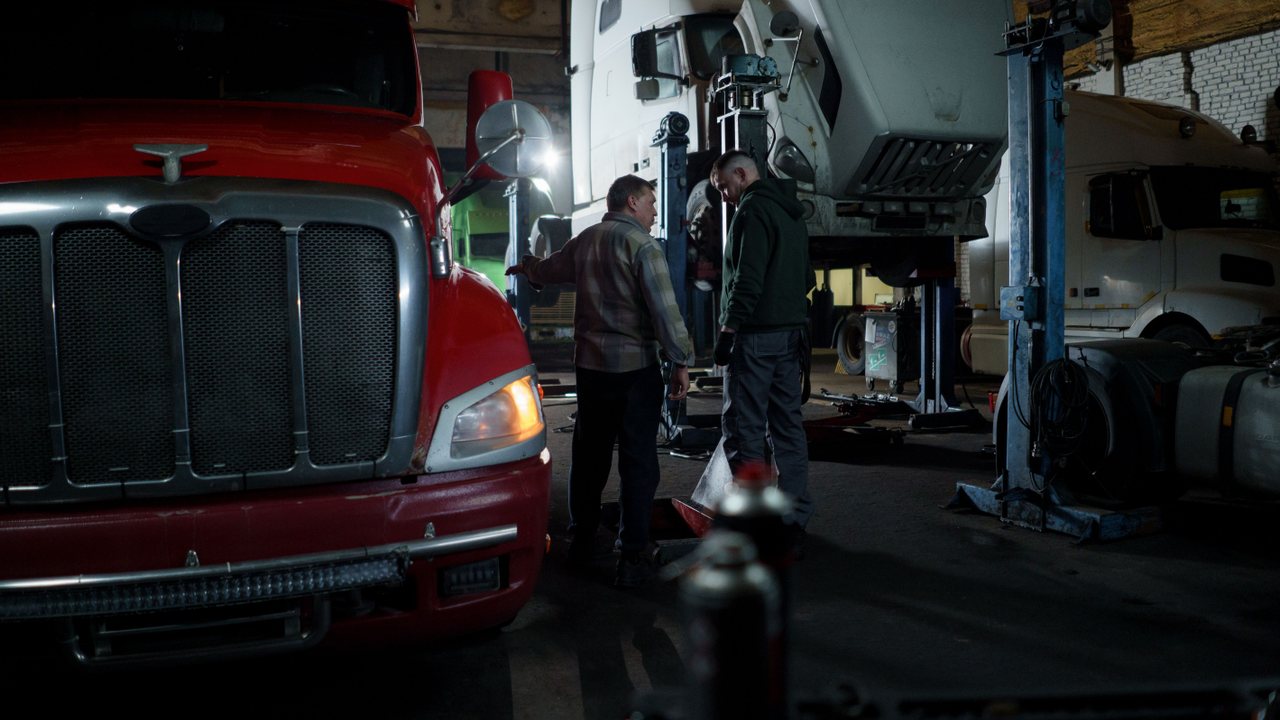
A used mechanics truck is not just a chassis with a utility body. It is a completed work system: truck, service body, crane, PTO, hydraulic circuit, outriggers, compressor, electrical accessories, tools, and any trailer it will pull. A clean cold start and a good-looking body are not enough to prove that the whole system is safe, legal, or ready to earn money.
Use this guide to organize a pre-purchase inspection and the documents you request from a seller. It is not legal advice and it does not replace a commercial-truck mechanic, qualified crane inspector, scale ticket, or rules that apply to your state and operation.
Quick mechanics truck inspection checklist
Before money changes hands, verify all of the following:
- Chassis VIN and manufacturer certification label.
- Applicable final-stage certification label and records for any later rebody or modification.
- GVWR, every listed GAWR or axle-group rating, actual working weight, and axle loads.
- Body, crane, compressor, and other equipment data plates and serial numbers.
- Title history, open recalls, service records, and inspection records.
- Odometer, total engine hours, idle hours, and PTO hours when available.
- Cold-start behavior, diagnostic scan, road test, and regeneration history.
- Emissions equipment and calibration status.
- Frame, crossmembers, body mounts, welds, drilled holes, and corrosion.
- PTO, hydraulics, hoses, cylinders, outriggers, controls, and interlocks.
- Crane manual, load chart, inspection history, hook, wire rope, pins, and boom.
- Independent chassis and crane inspections written into the purchase agreement.
If the seller cannot provide the applicable labels, serial numbers, operating manuals, or a reasonable functional test, pause the deal until the missing information is resolved.
1. Identify the completed vehicle, not only the chassis
Start with the physical VIN on the chassis and compare it with the title, dashboard plate, chassis certification label, and seller paperwork. Use the NHTSA VIN Decoder to compare manufacturer-reported attributes with the truck, but do not treat a decoded result as authentication of the physical VIN or title. Use the NHTSA recall lookup to check the VIN. Equipment such as a crane can also have recalls or service bulletins under its own manufacturer and model.
When a new mechanics truck was originally completed in stages from an incomplete chassis, 49 CFR 567.5 requires the final-stage manufacturer to affix a certification label. That label identifies the final-stage manufacturer and includes the completion date, GVWR, GAWR values, VIN, and certification statement. Photograph the full label and make sure its VIN matches the chassis. A later rebody or equipment change on an already used, certified vehicle does not automatically create the same final-stage labeling duty; document the modification history and have a qualified upfitter or compliance professional determine what records and labels should exist for that work.
Then record the manufacturer, model, and serial number from the service body, crane, compressor, welder, and other major equipment. Ask for the exact operating and maintenance manuals. A generic manual for a similar crane is useful background, but it does not establish the capacity, limits, or inspection interval for the unit on the truck.
Stop and verify when
- an applicable final-stage label exists and its VIN differs from the truck or title;
- an applicable label is missing, painted over, unreadable, or appears replaced;
- the body or crane has no readable data plate;
- the equipment model in the paperwork does not match the installed unit;
- the seller describes a later body swap or frame modification but has no upfitter documentation.
2. Verify ratings against the truck’s real working weight
GVWR and GAWR are ratings, not the truck’s current weight and not a promise of remaining payload. A service body, crane, compressor, hydraulic reservoir, fuel, passengers, tools, parts, and trailer tongue weight all consume capacity. The completed truck can reach an axle limit before it reaches the overall GVWR.
Request a recent scale ticket for the truck in the configuration you plan to operate. Weigh the total vehicle and each axle or axle group the scale can measure, including tandem or lift axles when present, with normal fuel, mounted equipment, and a realistic tool load. Compare those numbers with the ratings on the applicable certification labels and with any qualified upfitter documentation for later modifications. If towing is part of the job, include the intended trailer and its loaded weight in a separate combination review.
Do not accept a payload estimate based only on a brochure for a bare cab-and-chassis. If a seller advertises a truck as “under CDL,” ask for all applicable certification labels, modification records, actual scale weight, planned trailer details, and the rule used to support that claim.
3. Treat “under CDL” as a claim that must be proven
The badge on the hood does not decide whether a commercial driver’s license is required. Federal Class A and Class B groups are based on the rated or actual weight of the completed vehicle or combination, with the higher applicable value controlling. A Class A combination generally reaches 26,001 pounds or more and includes a towed unit over 10,000 pounds. A Class B vehicle generally reaches 26,001 pounds or more as a single vehicle, or tows a unit that does not exceed 10,000 pounds. Passenger and hazardous-material operations can create Class C requirements.
The exact answer still depends on the completed configuration, trailer, cargo, use, endorsements, exemptions, and state rules. A truck that does not require a CDL can still be a commercial motor vehicle for federal interstate-safety rules. The definition in 49 CFR 390.5 includes certain vehicles at 10,001 pounds or more when used in interstate commerce.
Before relying on “non-CDL” or “under CDL” marketing language, show the labels, weights, combination, cargo, route, and intended use to the licensing and motor-carrier authorities for the states where the truck will operate.
4. Build the history from records, not the odometer alone
Ask for maintenance invoices, engine and aftertreatment work, transmission service, cooling-system repairs, hydraulic service, crane inspection records, and evidence of periodic commercial-vehicle inspections when they apply. Match dates and recorded mileage or hours across the documents.
A current annual or periodic inspection is useful, but it is not a full pre-purchase inspection. The federal minimum inspection criteria in Appendix A to Part 396 cover areas such as brakes, steering, suspension, frame, fuel and exhaust systems, lights, tires, wheels, coupling equipment, glazing, and wipers. They do not prove that the engine, transmission, crane, PTO, compressor, or service body is healthy enough for your work.
Use the records to explain the truck’s life. Long gaps, repeated failures, missing hour readings, or invoices that do not match the VIN deserve follow-up before the mechanical inspection.
5. Read mileage together with engine, idle, and PTO hours
Mechanics trucks can spend much of the workday stationary while the engine powers a PTO, hydraulic pump, compressor, lights, or climate control. That means low road mileage does not automatically mean low use.
Record total engine hours and any available idle or PTO hours. Compare them with earlier service invoices and electronic-control-module data. Then use the maintenance schedule for the exact engine and model year. Manufacturer schedules can call for service at the first limit reached by mileage, hours, or time; the PACCAR PX-7 manual in the source list is one example.
There is no universal “good” miles-to-hours ratio for every mechanics truck. Duty cycle, climate, load, idle strategy, maintenance, and engine family all matter. Treat unexplained hour discrepancies or a replaced instrument cluster as reasons for deeper documentation and diagnostics, not as automatic proof of fraud.
6. Start it cold and scan every relevant module
Arrange the inspection before the engine has been warmed up. Confirm coolant and oil levels first, then observe cranking speed, warning lights, smoke, noises, oil pressure, charging voltage, leaks, and warm-up behavior. Do not diagnose an engine from smoke color or blow-by alone; use a qualified technician and the manufacturer’s procedures.
Scan the engine, transmission, ABS, body, and aftertreatment systems with equipment that can read the truck’s modules. Record active, pending, and recently cleared faults. Review regeneration history, soot or ash information when supported, and any signs that monitors were reset immediately before the sale.
On the road test, check steering, braking, transmission shifts, driveline vibration, temperatures, cruise functions, warning systems, and behavior under a safe representative load. A short drive around a parking lot is not enough for a six-figure work truck.
7. Confirm emissions equipment has not been deleted or defeated
Inspect for the original emissions configuration that applies to the engine and model year, which may include EGR, DOC, DPF, SCR/DEF components, sensors, wiring, and diagnostic functions. Compare the hardware and calibration with manufacturer information.
The EPA states that aftermarket defeat devices and tampering with emissions controls are illegal. Missing filters, hollow housings, disconnected sensors, disabled diagnostic trouble codes, suspicious tuning devices, or a seller’s claim that a “delete” improves reliability should stop the transaction until a qualified shop establishes a lawful repair path and cost.
Do not assume that reinstalling one visible component returns the truck to compliance. Hardware, software, sensors, wiring, and readiness monitors may all need verification.
8. Inspect the frame, body mounts, and upfit work
Follow the frame rails from the front suspension to the rear body support. Look for cracks, corrosion, impact damage, shifted crossmembers, loose U-bolts, crushed spacers, improvised brackets, fresh paint over repairs, and welds or drilled holes that do not match the upfitter’s instructions.
Check clearances around the exhaust and aftertreatment, PTO shafts, hydraulic lines, wiring, fuel system, suspension, tires, and driveshaft. Hoses and wiring should be supported and protected from heat, abrasion, pinch points, and moving components.
Frame modifications cannot be judged reliably from appearance alone. Have a qualified commercial upfitter compare the installation with the exact chassis body-builder manual, wheelbase, engine, exhaust layout, axles, and body configuration.
9. Test the PTO, hydraulics, compressor, and outriggers
Have a trained operator follow the exact equipment manual for every powered functional test. With the system shut down and relieved of stored pressure as the manufacturer directs, visually inspect the hydraulic reservoir, filters, pump, hoses, fittings, cylinders, valves, and cooler. Look from a safe distance for wet fittings, cracked hose covers, chafing, bent rods, damaged guards, and improvised repairs. Never use a hand or other body part to search for a pressurized hydraulic leak; suspected fluid-injection exposure requires immediate emergency medical care.
Have the trained operator engage the PTO according to the manufacturer’s procedure while the buyer and inspector remain in designated safe positions. Confirm that controls, emergency stops, warning devices, interlocks, and engine-speed functions behave correctly. The trained operator—not an untrained buyer—should cycle outriggers and equipment through normal movements on suitable ground. Any pressure, flow, or load test must follow the correct manual and be performed by someone qualified to do it.
For an air compressor, verify service history, operating controls, guards, leaks, and the condition of tanks, lines, and drains. For a welder or generator, test output using the manufacturer’s procedure and inspect cables, grounds, outlets, and protection devices.
10. Give the crane its own inspection
A crane needs a separate inspection from the truck chassis. Record the model and serial number, obtain the exact operator’s manual and load chart, and review inspection and repair history. A qualified inspector should examine the hook, latch, wire rope or other lifting medium, sheaves, pins, bushings, boom sections, welds, cylinders, hoses, controls, overload or stability systems, outriggers, and mounting structure as applicable to that unit.
Do not perform an improvised proof load during a sales demonstration. Use the manufacturer’s procedure, rated test equipment, suitable ground, and qualified personnel.
Regulatory scope also depends on how the equipment is used. OSHA 1926.1400 contains an exclusion for a mechanic’s truck with a hoisting device when it is used for equipment maintenance and repair. That exclusion is not a blanket exemption for every lift. Different construction lifting, general-industry work, state-plan rules, or another crane configuration can change the requirements. Confirm the intended use with the appropriate safety authority.
11. Inspect the service body as working equipment
Open every door and drawer. Check latches, locks, seals, slides, shelves, lighting, rust, cracks, floor condition, and evidence of overloaded compartments. Inspect the body-to-chassis mounts and the areas around crane and outrigger loads. Fresh undercoating or seam sealer should be explained, not automatically treated as a repair.
Have the trained operator deploy the outriggers on suitable pads while the inspector observes from a safe position. Confirm that they move evenly without unusual behavior, and look for distortion or cracking near outrigger boxes, crane pedestals, compartment corners, and high-load welds. Treat any suspected hydraulic leak as pressurized until the system is safely shut down and relieved according to the manual.
Inventory loose equipment separately. A seller’s photos can show tools, rigging, remotes, pads, or accessories that are not included in the sale. Put included serial-numbered equipment and missing items in writing.
12. Make independent inspections a condition of the deal
Use at least two relevant specialists when the truck has a crane: a commercial-truck technician for the chassis and powertrain, and a qualified crane or upfit inspector for the body and lifting system. Add a scale ticket and fluid or laboratory testing when the price, history, or risk justifies it.
The purchase agreement should allow enough time to obtain records, scan modules, inspect the truck cold, operate the installed equipment, and review findings. State who pays for transport or inspection and what happens if the truck materially differs from its listing, cannot be demonstrated safely, or needs repairs above the agreed threshold.
Documents to request before making an offer
| Document or evidence | What to verify |
|---|---|
| Title and VIN records | VIN match, title brands, owner, odometer history |
| Chassis and applicable final-stage labels | VIN, GVWR, every listed GAWR, completion or modification information |
| Current scale ticket | Total and each measurable axle or axle-group working weight |
| Body and crane data plates | Manufacturer, model, serial number, rated information |
| Operating manuals and load chart | Exact match to installed equipment |
| Maintenance invoices | Dates, mileage, hours, VIN, recurring repairs |
| Engine and PTO hour records | Consistency with ECM data and prior service |
| Commercial-vehicle inspection records | Scope, date, inspector, defects and repairs |
| Crane inspection and repair records | Inspection type, findings, repairs, modifications |
| Emissions documentation | Original configuration, repairs, calibration, unresolved faults |
| Included-equipment list | Remotes, rigging, pads, tools, compressor and accessories |
Used mechanics truck red flags
Slow the deal down when you find any of these:
- mismatched or unreadable VIN and certification labels;
- no actual working weight or no way to verify axle loads;
- “under CDL” stated without ratings, weights, trailer, and use details;
- missing body or crane serial plates, manual, or load chart;
- frame welds, drilled rails, shifted mounts, or unexplained fresh coating;
- hydraulic leaks, damaged hoses, bent rods, or disabled interlocks;
- no safe functional demonstration of the crane and outriggers;
- odometer readings that do not align with engine hours or invoices;
- recently cleared faults or incomplete aftertreatment monitors;
- emissions-delete hardware, tuning, or disconnected sensors;
- a seller who will not allow independent chassis and crane inspections.
Frequently asked questions
Does “under CDL” mean the truck is not regulated as a commercial vehicle?
No. CDL class and commercial-motor-vehicle safety coverage are different questions. A non-CDL truck used in interstate commerce can still meet the federal CMV definition. Check the completed vehicle, combination, cargo, operation, and state rules.
Is mileage or engine hours more important on a mechanics truck?
Neither number should be used alone. Review mileage, total hours, idle or PTO hours, age, duty cycle, ECM data, and documented maintenance together.
Is a current DOT inspection enough before buying?
No. It can document compliance with a minimum inspection standard, but it is not a complete evaluation of the engine, transmission, emissions system, service body, crane, PTO, hydraulics, or compressor.
Can I test the crane myself before buying?
Basic controls can be demonstrated only when the setup, ground, manual, and personnel make that safe. Inspection or load testing should follow the exact manufacturer procedure and be performed by qualified people. Do not improvise a proof load.
Who should inspect a used mechanics truck?
Use a commercial-truck technician who understands the chassis and engine family, plus a qualified crane or upfit inspector for the body, mounting, hydraulics, and lifting equipment. One general vehicle inspection rarely covers both areas well.
Final buying rule
Buy the documentation and completed configuration, not the model badge or sales headline. The strongest candidate is the truck whose VIN, labels, weights, hours, records, equipment plates, manuals, diagnostic data, and independent inspections tell one consistent story. If that story is incomplete, price the uncertainty only after a qualified inspection—or keep looking.
Cover photo: cottonbro studio on Pexels.
Evidence
Sources
Primary references used to verify the regulatory and technical details in this article.
- 1. Certification requirements for vehicles manufactured in two or more stagesElectronic Code of Federal Regulations
- 2. Commercial driver’s license vehicle groupsElectronic Code of Federal Regulations
- 3. Definitions: commercial motor vehicleElectronic Code of Federal Regulations
- 4. Minimum periodic inspection standardsElectronic Code of Federal Regulations
- 5. Aftermarket defeat devices and tampering are illegalUnited States Environmental Protection Agency
- 6. Cranes and derricks in construction: scopeOccupational Safety and Health Administration
- 7. PACCAR PX-7 Operator’s Manual, model year 2024PACCAR Powertrain
- 8. Telescopic Crane Operator’s ManualIowa Mold Tooling Co., Inc.
Inventory
Shop trucks from this story
Next steps